 Gallery
Pick from your catalogue
The customer chooses a motif you have prepared, picks a size and a frame, and orders. Every motif is quality-checked once, by you, before it is offered.
Open full screen
Gallery
Pick from your catalogue
The customer chooses a motif you have prepared, picks a size and a frame, and orders. Every motif is quality-checked once, by you, before it is offered.
Open full screen
Gallery configurator
Let customers frame their own picture.
Choose a motif or upload a photo, pick a size, crop it, choose a frame and see it on the wall before ordering. The configurator checks whether the file can actually carry the size, and says so before the order is placed.
For print shops, photo galleries, framing brands and made-to-order wall art.
Three configurators. Open and try them.
These are running, not screenshots. Each opens full screen in a new tab, with the real motifs, the real sizes and the real quality check.
Gallery
Pick from your catalogue
The customer chooses a motif you have prepared, picks a size and a frame, and orders. Every motif is quality-checked once, by you, before it is offered.
Open full screen
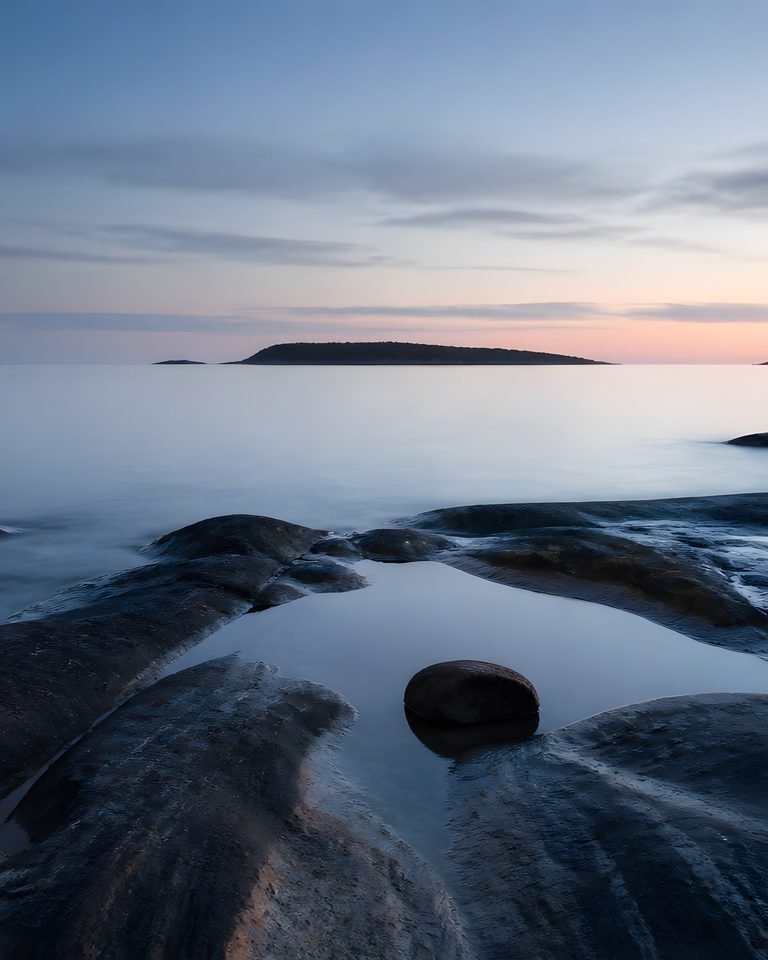 Upload
Let them bring their own picture
The customer uploads a photo. The file is measured on arrival, and any size that cannot carry the print is flagged before the order rather than after.
Open full screen
Upload
Let them bring their own picture
The customer uploads a photo. The file is measured on arrival, and any size that cannot carry the print is flagged before the order rather than after.
Open full screen
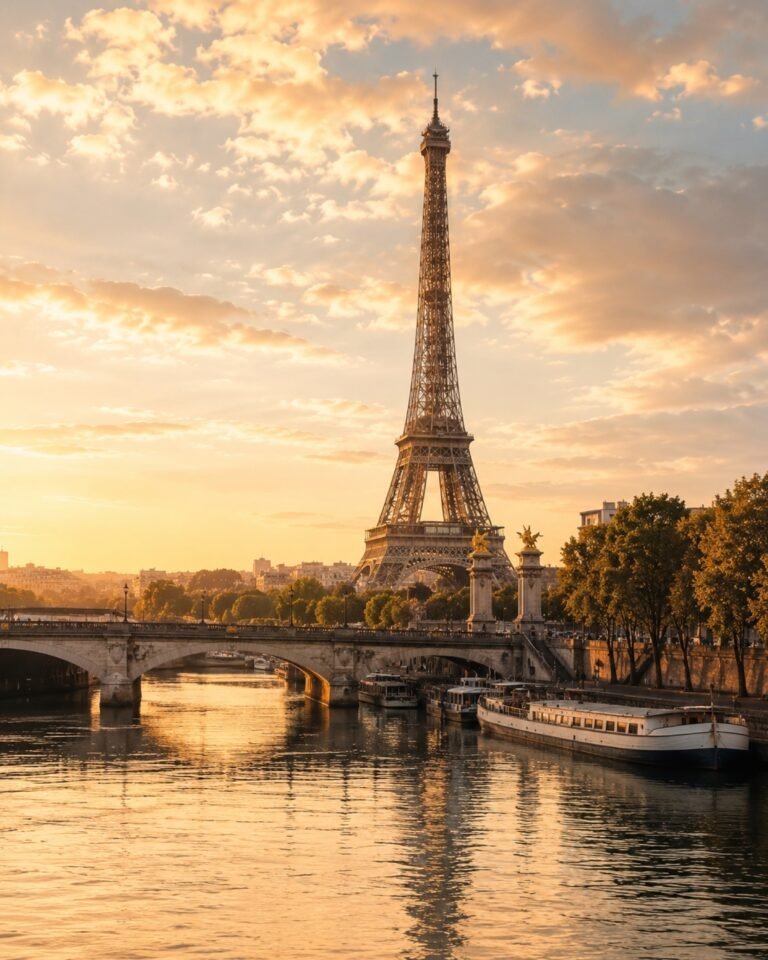 Hybrid
Both, in one flow
Gallery and upload side by side. Most shops end up here, because customers arrive with a photo about as often as they arrive wanting to browse.
Open full screen
Hybrid
Both, in one flow
Gallery and upload side by side. Most shops end up here, because customers arrive with a photo about as often as they arrive wanting to browse.
Open full screen
Every motif is checked before it is offered.
A motif enters the catalogue once. Its resolution is measured, a crop is set per format, and only the sizes that hold up are put in front of a customer.
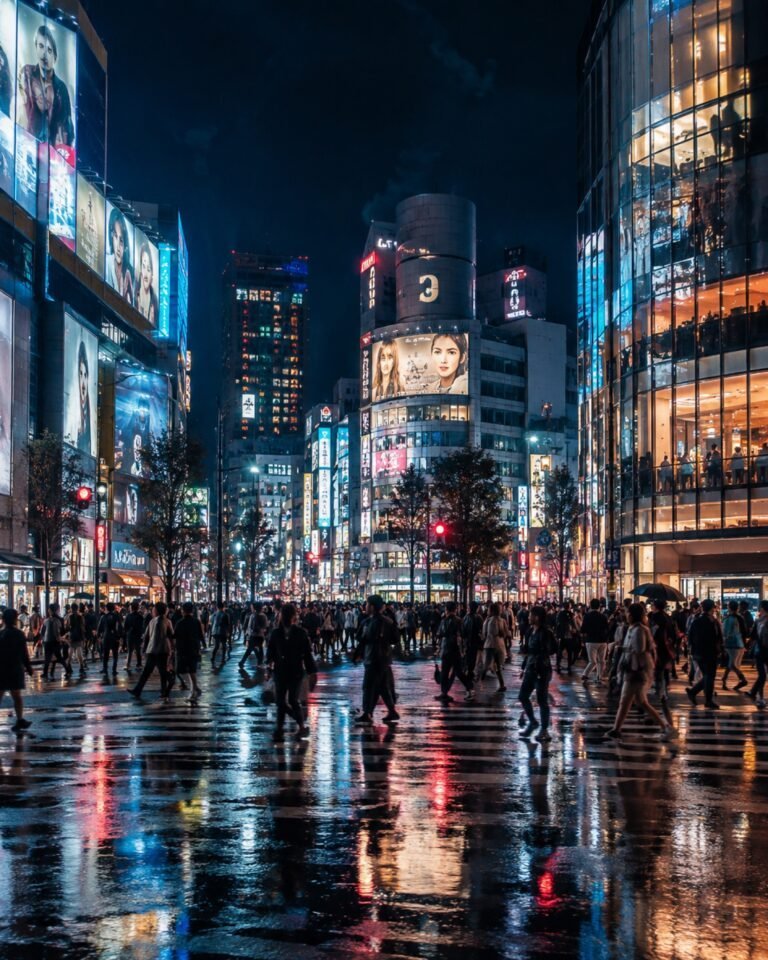
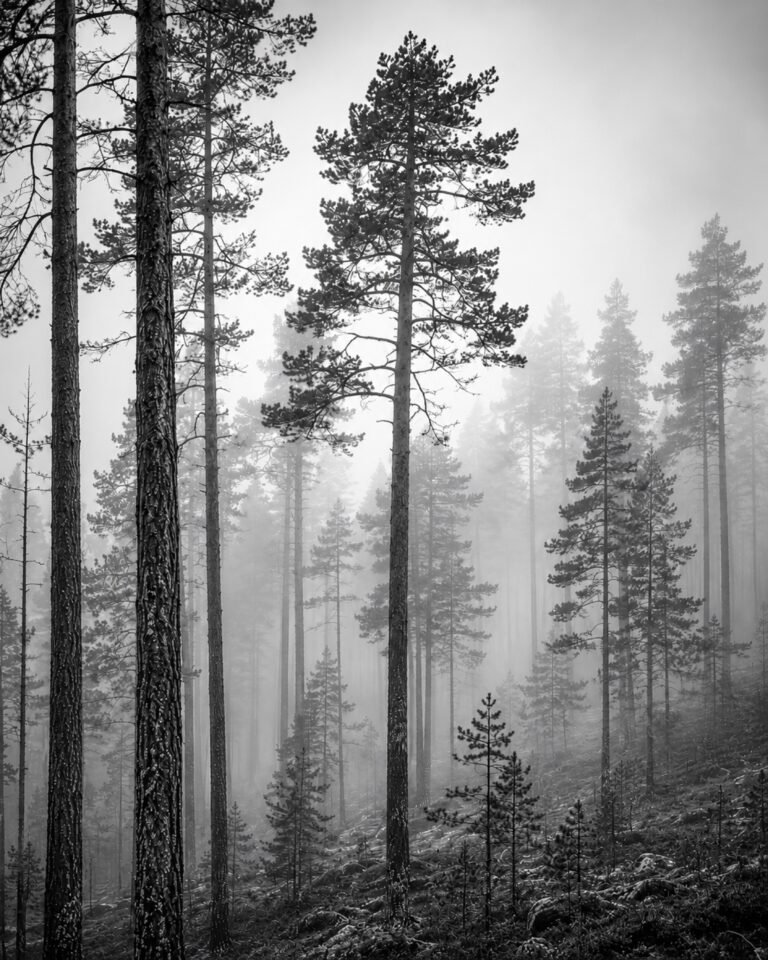
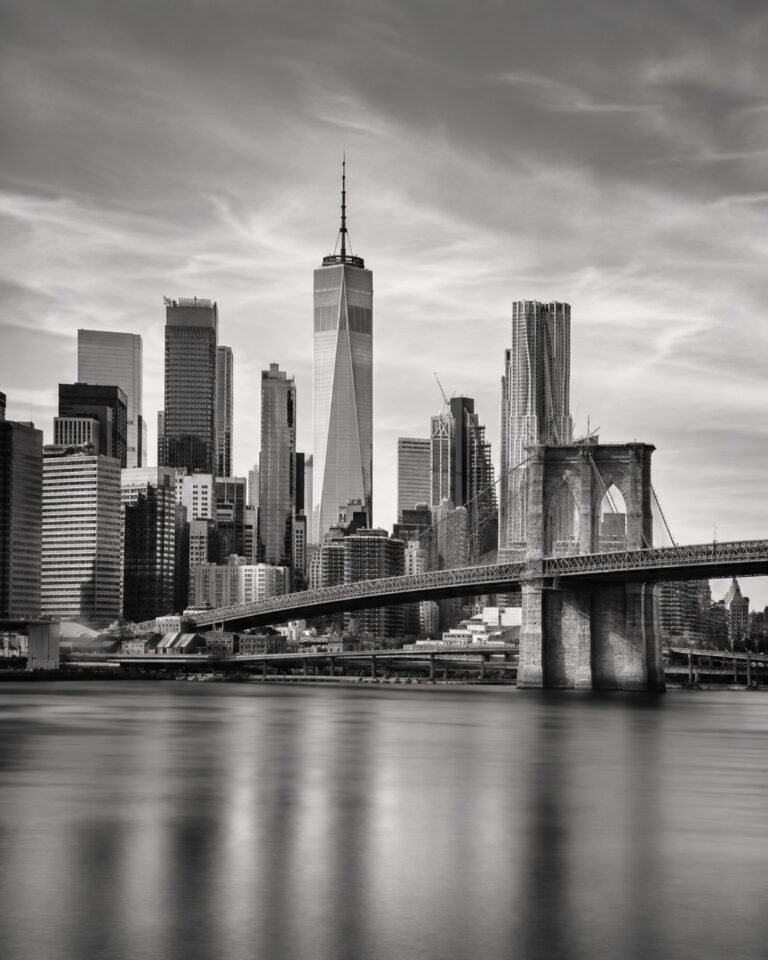

Frame finishes
- Black
- White
- Light oak
Each finish is a separate asset layer, not a new photograph of the whole product.
Why a good photo can still print badly.
A file has a fixed number of pixels. Printing it larger spreads the same pixels over more paper, so the detail per centimetre drops. DPI is simply that number: dots per inch.
Green
150 DPI and above
Prints sharp at arm length. The size is approved automatically and goes straight through.
Yellow
100 to 149 DPI
Usually fine on a wall, but somebody should look at it. You approve it once, deliberately, and then it is offered.
Red
Below 100 DPI
Will look soft or pixelated at that size. This is the one worth catching, because it is the one that comes back as a complaint.
The same file, five sizes
A 3000 × 4000 px file, shown at five sizes. Nothing about the file changes down this list. Only the paper gets bigger, and the same pixels have to cover it.
- 30 × 40 cm 254 DPI Green
- 45 × 60 cm 169 DPI Green
- 60 × 80 cm 127 DPI Yellow
- 75 × 100 cm 102 DPI Yellow
- 90 × 120 cm 85 DPI Red
Cropping counts too
Filling a square frame from a portrait photo throws away the top and bottom. Those pixels are gone, so the effective resolution drops with them. A crop is green up to 5 per cent removed and yellow up to 20, and the worse of the two readings is the one shown.
What the customer can do about it
Pick a smaller size, upload the original instead of a copy from a phone gallery, or loosen the crop. All three are offered on the spot, so the fix happens before the order rather than in an e-mail afterwards.
You decide where the lines go
150 and 100 DPI are the defaults, not a law. The thresholds sit in the backend, so you set them to match your printer, your paper and how close the work is normally viewed. A large-format canvas shop can drop them; a fine art printer can raise them. Every reading on the site, and every colour in the table above, follows whatever you set.
From upload to a print-ready order.
Six steps the customer walks through. Scroll sideways.
Choose or upload a picture
Customers pick a motif from your gallery or upload their own file. The configurator reads the real pixel dimensions the moment it lands.
Pick a size
Every size is checked against that specific file. A size that will not print well is marked before the customer commits to it, not after.
Crop and position
Fill the frame or show the whole picture. Zoom and move the motif. The quality reading updates as the crop changes, because a tighter crop uses fewer pixels.
Choose the frame
Finish, mount and glass are separate assets, so a new frame colour is a new layer rather than a new photograph of the whole product.
See it on the wall
The exact configuration opens on the customer phone in AR, at the right physical size, before they order.
Order with a print-ready file
The order carries the crop, the size, the frame and the source reference, so production receives a file it can print without asking questions.
Wall AR
See it on the wall before ordering.
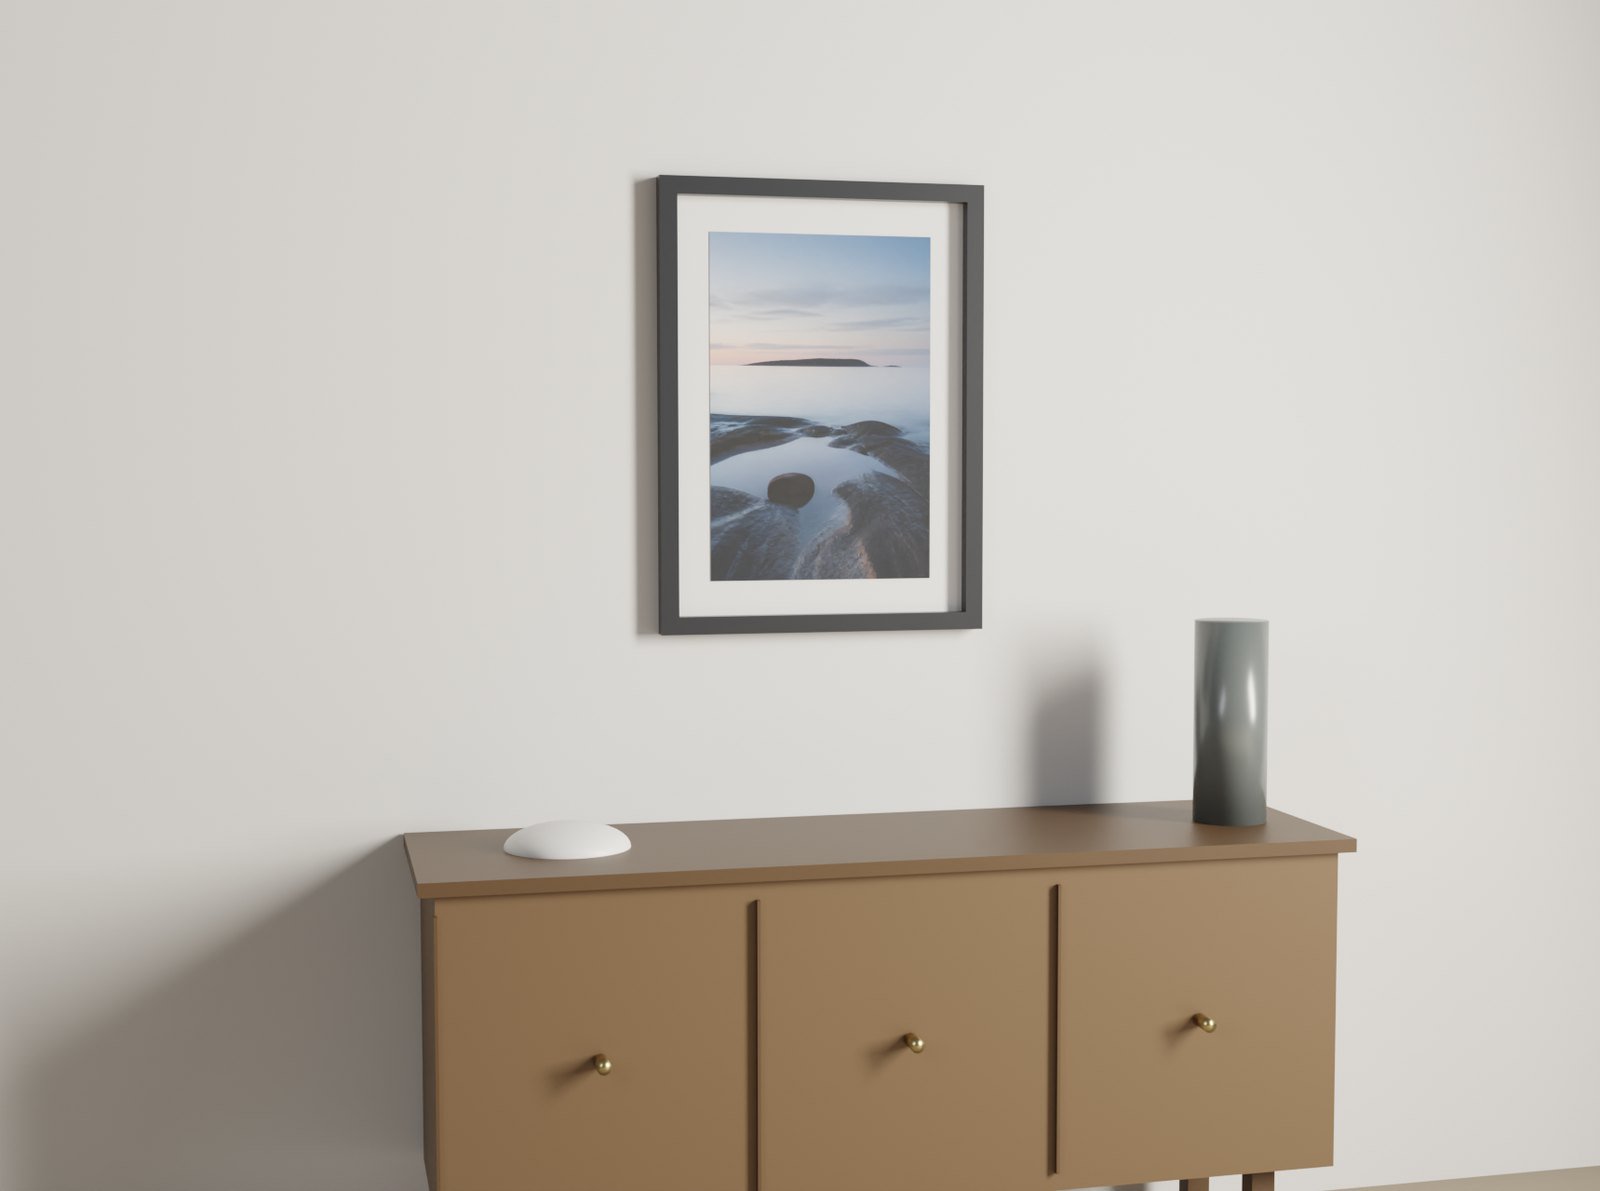
The configured piece opens on the customer phone at its real physical size. They hold it up against the wall it is meant for, compare it to the sofa and the window, and decide whether 50 x 70 is the right call. No app to install, and the picture is held privately for the length of the session.
- Same image, size, crop and frame as on the desktop
- Opened by QR code or a link, no install
- Real physical scale, not a rough preview
We build the asset layer underneath.
A configurator like this runs on prepared material: motifs at a usable resolution, frame finishes as separate layers, mounts and glass that line up at every size, and a naming scheme the platform can read. That production layer is what Konfiq delivers, for this configurator or the one you already use.
Request an asset assessment
One frame, five assets
Production ready
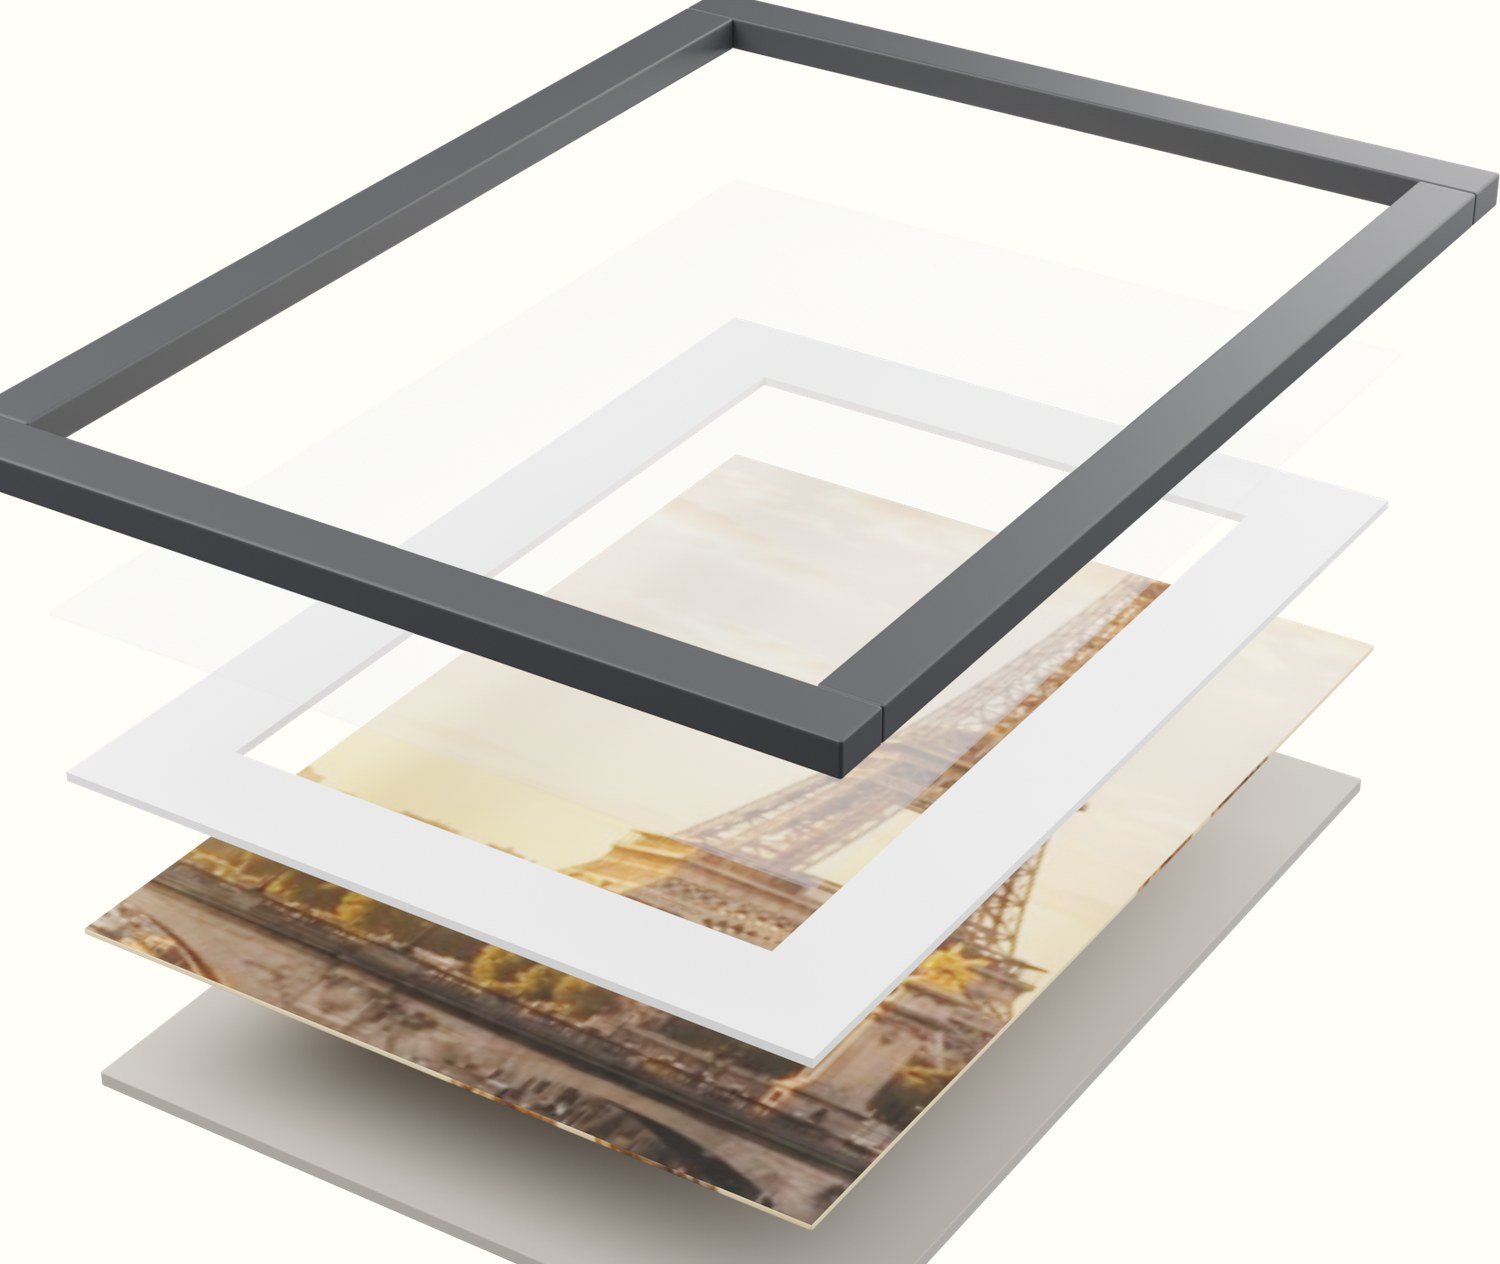
- MouldingOne layer per finish
- GlassSheen and reflection
- MountCut to every size
- PrintMeasured on arrival
- BackingDepth and shadow